
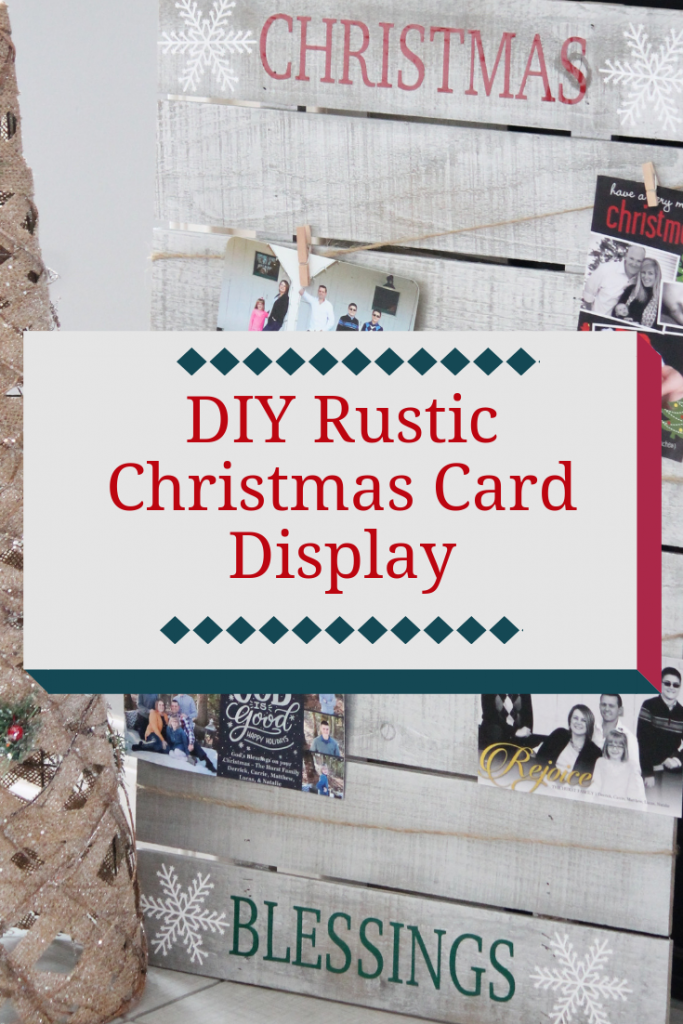
Rustic Christmas Card Display
How do you display your Christmas cards? This year, ours are going to be displayed on my DIY Rustic Christmas Card Display, and I am going to share that with you today! I am so excited to be sharing this project with you, so you have a beautiful and useful way to display your Christmas cards.
This is a sponsored post. As a member of the StyleTech Craft Design Team, I have been provided product and compensation in exchange for my creative ideas. The views and opinions are my own.

Christmas cards! Do you send them? We still do, and in turn, we love getting them in the mail as well. One of my favorite parts of prepping for the Christmas holiday is creating our Christmas cards, and then sending them out to our friends and family. Typically, they live in a basket or on the coffee table, but not this year!
I love creating easy projects with my Silhouette Cameo. This one is no exception, and with a ton of great holiday colors to choose from with StyleTech, it was easy to find just the right ones to add a special touch to my wood pallet. A little secret…this project is SO easy that I would actually consider it a “beginner project” when crafting with vinyl.
DIY Christmas Card Display supplies
- Cutting Machine {a Cricut or a Silhouette Cameo will do the trick}
- StyleTech Glossy Adhesive Vinyl
- StyleTech Ultra Metallic Vinyl
- Transfer Tape
- Cutting mat, burnishing tool, and weeding tools
- Pallet Board
- Paint
- Twine

First, if your board needs sanded, you will want to do so. Then, give your board a nice coat of paint. I went with a silver metallic spray paint, and just gave it one coat. I wanted to preserve that wood, rustic look, so don’t coat it too thick with the paint.
While that is drying, set up your cut file on your software. For this project, I used the “Charter” font. For this particular board, I sized the letters at about 3.5 inches tall, and the words at 12 inches wide. This will take up the entire length of your vinyl piece.
Set your machine to your vinyl settings, and cut each word out of your preferred color of vinyl. I used the Forest Green and the Red. Plus, for the snowflakes, I added a little white metallic. I LOVE the metallic ones!
After your cuts are made, start weeding and you are ready to put it on your board!

Using the transfer tape, cover your weeded design and trim the edges. Peel off the backing of the design, so the adhesive side of the vinyl is exposed. Position it on the board, and smooth it out with a burnishing tool. StyleTech makes a great one, that is sturdy and easy to use. I have also been known to use a credit card :). However, with a good tool you can apply more pressure and get a smoother look.
After I cut “Christmas Blessings”, I felt like it needed a little something else. That is where the snowflakes came into the project. I thought those made a festive addition to it.

With 41 colors to choose from, this project can really be customized to match your holiday decor. We lean toward the reds and metallics when decorating our home for Christmas.
Tips for using adhesive vinyl:
Vinyl does not adhere well to wood that is rough. Be sure your surface is smooth before you try to put the vinyl on it.
A good burnishing tool is key. This allows you to get all the air bubbles out of your project so it adheres smoothly to your surface.
Peel the transfer tape off of your design at a diagonal, keeping it close to the surface. Don’t just rip it off, as your design will likely come off with it. Take it slow, and you won’t risk wrinkling your design or it coming off the surface entirely.
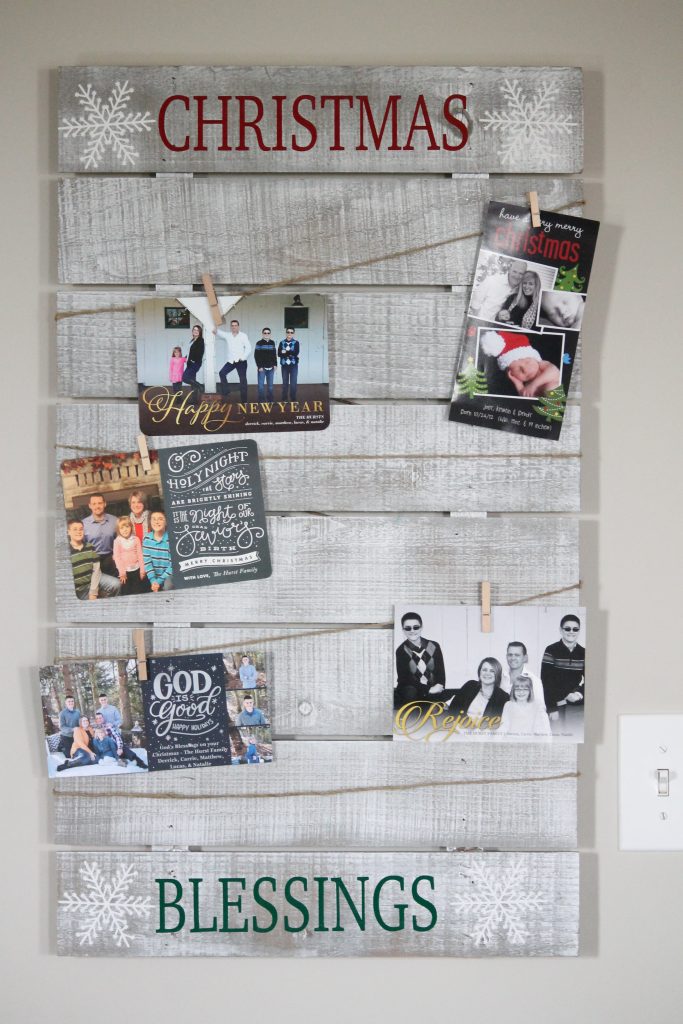
Now, we have a decorative way to display our Christmas cards. This can hang on the wall, or I can also lean it against our fireplace/mantel area to add some Christmas cheer in that part of our living room. How do you display your Christmas cards?

How will you be displaying your Christmas cards this year?

I love the rustic appeal of this project!
Thank you, Morena!