
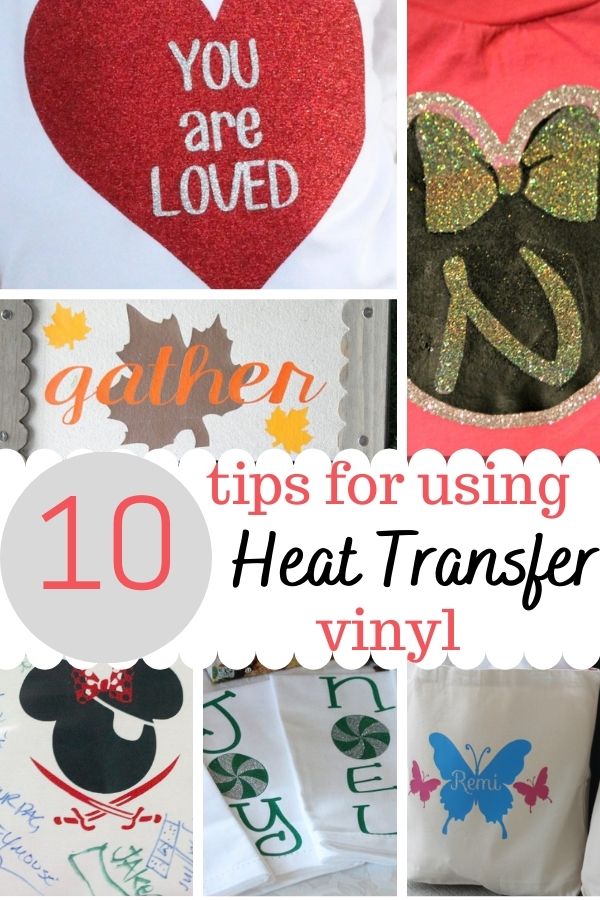
10 Tips for Using Heat Transfer Vinyl with Your Silhouette Cameo
Using heat transfer vinyl with your Silhouette Cameo doesn’t have to be intimidating! This is my favorite way to create custom Disney shirts for our trips, gifts, and even a quick shirt for my daughter to wear to school on a holiday. I can’t wait to share some tips with you today!
Why I Love Using HTV
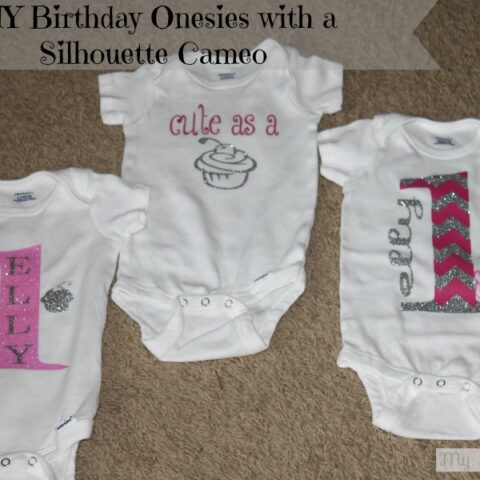
One of my favorite things to make with my Silhouette Cameo is t-shirts. I love to make them for my daughter to wear for almost every holiday, or just for fun, but I also make them for our Walt Disney World trips. Matching shirts are our jam, and with heat transfer vinyl and my Cameo, they are also easy and quick!
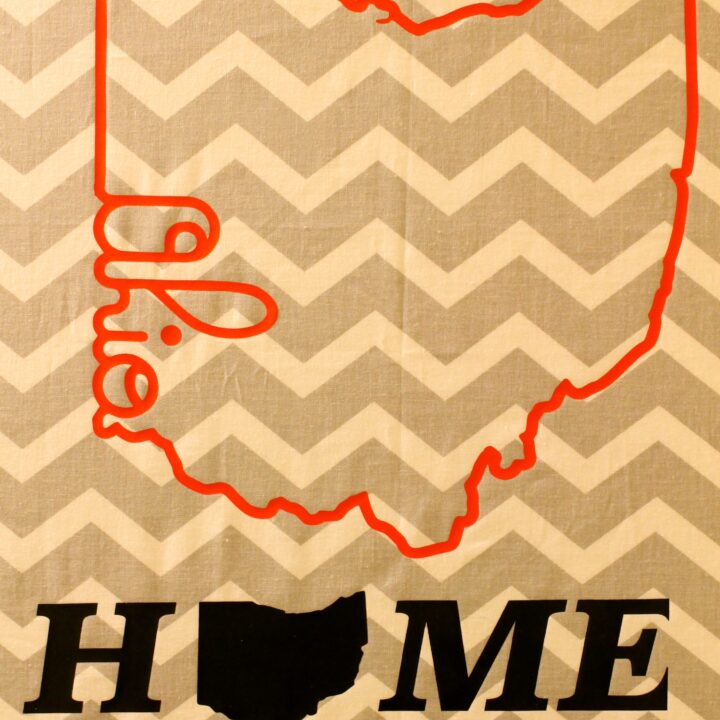
Using heat transfer vinyl to create custom shirts is easy-and the results are awesome! It’s nice to know that in under 30 minutes I can whip up a fun birthday shirt for my nieces or nephew, a cute Halloween shirt for my daughter to wear to school, or even fun Disney shirts for our family trip! But not only do I use it for shirts, but also pillowcases, adding something special to a pencil case or bag, and gifts!
Having the correct Vinyl tools & knowing how to use them is SO important
First, purchase heat transfer vinyl from your favorite online shop. Expressions Vinyl is my “go to” for HTV. This vinyl cuts so easily, and that makes it easy to work with. While I prefer glitter to smooth HTV, that is just a personal preference, since I love the sparkle factor!
If you are using an iron, don’t “iron” it. You need to just press firmly, not sweep your iron over the parchment paper. I press it on for one minute, putting all my weight on the iron. Then I lift it, and wait about 30 second, and then do it again in a different spot. I like to do this to be sure all of the design is sticking.
Parchment paper protects your design and keeps it from melting to the iron. Place this on top of your design, between it and the iron or press. Then press firmly. Next, move the parchment paper off, and wait just a few seconds. If your plastic barrier cools a bit, you won’t burn the tips of your fingers when you try to peel it off. Slowly start pulling the clear barrier off. I like to watch it closely, to see if all of my design stuck. If not, I just lay the plastic back down, and apply the iron again where it needs it.
A heat press is nice, but not a “must have”. I do have a small, desktop Cricut heat press. I love it, as I used to use an iron. It has settings for all materials, and is more comfortable to use than being on my knees on the floor and pressing on an iron. I also use an old, smooth piece of wood as my work surface underneath it. I just lay it on the countertop and go from there. An iron works just fine, though, and I sometimes find myself using it to press down some of the smaller pieces or corners of some of my designs.

tips for how to create beautiful Heat transfer vinyl designs
When you set up your design to cut, make sure you MIRROR the text. You can do this by going to Object-Transform-Mirror Options-Mirror Right. Then, you need to remove the original text from the design screen before you send it to cut. And, I often have to move my mirrored text back over to position it correctly. If you DON’T mirror your text, it’ll cut it backwards.
Load your heat transfer vinyl on your cutting mat with the shiny side DOWN. HTV comes with a shiny protective sheet on it. This is essential to the next few steps. You can find a GREAT chart for machine settings HERE.
After you have cut your design, you need to “weed it”. This means you are going to peel off the excess parts that are left around your cut. I like to use my Silhouette Hook and my Silhouette Pick Me Up tool to weed the vinyl. When you are finished, you should see the shiny material, and the design with nothing else around it.
Position your design just where you want it, with the shiny side facing up. Then, you’ll need parchment paper. This creates a barrier between your HTV and the iron. You do NOT want to place the hot iron directly onto your design. You remove the shiny sheet on the vinyl AFTER you press it.
When you are using an iron, don’t “iron” it. You need to just press firmly, not sweep your iron over the parchment paper. I press it on for one minute, putting all my weight on the iron. Then I lift it, and wait about 30 second, and then do it again in a different spot. I like to do this to be sure all of the design is sticking.
Also, move the parchment paper off, and wait just a few seconds. If your plastic barrier cools a bit, you won’t burn the tips of your fingers when you try to peel it off. Slowly start pulling the clear barrier off. I like to watch it closely, to see if all of my design stuck. If not, I just lay the plastic back down, and apply the iron again where it needs it.

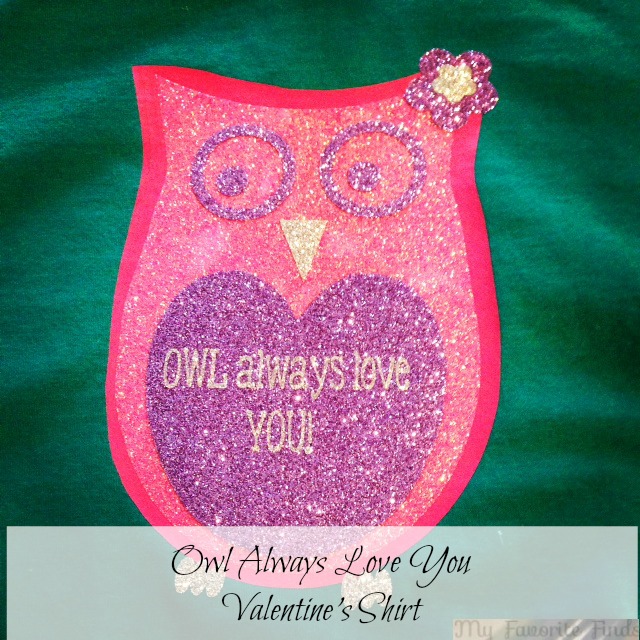
When creating designs that have different colors, or you want to add a little glitter HTV to a project, you need to do it in stages. For example, the LOVE file I use for Minnie Mouse. I cut the L,V,E and then cut out the extra square where the head should be. Iron it on, and peel off the plastic. Then, add the head. The most important part is to make sure the ENTIRE design is covered with parchment paper when you are layering or adding pieces. Otherwise, you’ll have a literal hot mess. Layering takes practice, but the results are impressive.
To keep your design nice, I suggest washing the shirt with no fabric softener, in cold on the gentle cycle and hanging it to dry.
Are you ready to venture out and use some Heat Transfer Vinyl? Check out these great ideas, too!
Using heat transfer vinyl with your Silhouette Cameo doesn't have to be intimidating! These tips will help you create something special. A trip to Walt Disney World isn't complete without seeing your favorite characters. You can bring the Disney memories home with these unique Disney Autograph Pillows.Best Heat Transfer Vinyl Projects
DIY Disney Autograph Pillows


Thank you!!! I bought some, and haven’t done my research on how to use it yet. SO this was a really timely post to read!!
Great tip. Thanks for sharing
Great tips. Going to try a couple.
Great tips! I hope the hang drying works on my next project because the shirt i made Friday I washed and dried and looks like the edges of the letters are peeling away from the shirt 🙁
I hope it works! I have had some peel and some not. It just really depends, I think, on how hard I pressed. But overall, most of my designs don’t peel. Good luck!
I used glitter HTV and smooth black. Layering glitter on glitter can be a bit of a challenge, but I’ve done it.
where do you get your Disney designes
I am in a few Facebook groups specifically for the Silhouette Cameo. Sometimes members of the groups will share their files, and so then I download them to my software.
Thanks so much or the tips! I wondered if you wash the shirts before applying the htv? I have read that you need to do that first, but wasn’t sure. Would be nice to skip that step, but wanted to see what you do. Thanks!!
Hello! No, I do not. I used to, but have found that I don’t really need to. However, when I do wash them after wearing, I do not use fabric softener and I hang them to dry.
Hi I have a problem with my vinyls they don’t stuck on fabric instead they move off with the plastic when I peel, what is the trick to use a iron and let your design stuck 100% without messing your T-shirt?
I first set my iron so it is almost as hot as it will go. Then, I layer a piece of parchment paper over my shiny side, that is facing up, on my shirt. Next, I press with all my weight on the iron, all over the design. I think the key is to press, not “iron” as you would wrinkles in clothes. I press for about 15 seconds, in various spots on my design. If I can see the shirt fibers lightly showing through the vinyl, I know it is stuck. Then I let it sit for a few seconds, so the carrier sheet cools, and slowly peel it off from the corner. If I see the vinyl coming up slightly, I will replace it and repeat the whole process.
what is you trick on moving vinyl when applying with the iron am ailing to do proper work I do messy stuff and its wasting my t-shirt because my vinyls don’t stuck properly they move when I peel off.
I first set my iron so it is almost as hot as it will go. Then, I layer a piece of parchment paper over my shiny side, that is facing up, on my shirt. Next, I press with all my weight on the iron, all over the design. I think the key is to press, not “iron” as you would wrinkles in clothes. I press for about 15 seconds, in various spots on my design. If I can see the shirt fibers lightly showing through the vinyl, I know it is stuck. Then I let it sit for a few seconds, so the carrier sheet cools, and slowly peel it off from the corner. If I see the vinyl coming up slightly, I will replace it and repeat the whole process.
i recently had a few shirts made and the vinyl started to come off as i was wearing one of the shirts. is there any way i can re-heat/re-apply the vinyl to make it stay??
When you out your heat transfer vinyl on the cutting Mar. When you take it out should the design peel off onto the clear backing or should it stay on the cutting mat?
You need to put it on shiny side down to cut it. The whole piece should peel off, then you weed it.
Does anyone wash their shirts before applying the heat transfer? I keep getting mixed reviews on this.
I do, but I don’t use fabric softener. I have also made them without washing them first, and it lasts just as long. I think you are fine washing or not washing it, as long as you don’t use fabric softener.
Thx Carrie! I actually contacted expressions vinyl and they said they don’t wash either. Thx so much for the response!
Oh good! I am glad I told you a consistent answer :)!
I like very much those designs I used my cameo to make some designs of my own for Halloween also I did some socks with some reflective vinyl for my little ones, I kind o went everywhere, but still looking for a great website to buy I try World-Paper like 3 months ago they were a little bit expensive now looks like they are lower than eBay this is a jewel for all those who nickel and dime to be able to get the most profit
Do you Know about a better one with the prices I’m looking the best price for some siser easyweed I used the gold and the lime a lottt. and I got tired of buying of Ebay and Amazon Delivery time Is a Headache Late Orders Cant deal with it!!
Thanks for your help!
If my vinyl starts to peel, is it possible to reapply it? Like.. Can I flip the shirt inside out and iron it back on?
That I don’t know. I guess you could try.
I think I just pieced it together. I took the Minnie Mouse head file I sent you, and added a font that I liked.
I can’t wait to try this thank you so much!
I can tell you that once you start making things with HTV, it’s hard to stop! Enjoy!
Nice one.. My niece would really love this..got a great idea for her next b’day gift.. Thanks for the idea and tutorial!!
Thank you!
Crazy question. when you place the image on the shirt, do you leave the protective sheet over the design and then add the parchment sheet over it when you iron? So there are three layers (the parchment, protective sheet then image)?
Yes. You want that protective sheet on there, then the parchment paper. Once you iron, and leave it set for a minute or so, the protective sheet peels up very easily.
Hello! I will be making a super cute design tomorrow using my sister’s silhouette machine, that she’s had for about a year, but we are a little rusty on one thing- do you have any idea if the shirt being used needs to be washed first if it is a new shirt? I just bought the shirt today, and am unsure if it needs to be washed before applying heat transfer vinyl? Thanks for your help!
Hi! I have done it both ways-washed it before or not. The key is to NOT use fabric softener anytime, either before you put your design on or even after when you are washing the shirt. You do not NEED to wash it beforehand.
Awesome!! Thanks for your reply!!!
Hmmm confused. When you say “shiny”, do you mean the clear coat liner side or the shiny grey-white side. I am using metallic htv for the first time
The clear coat liner side.
awesome. thanks for sharing this tips are very helpful.
Fantastic blog. I appreciate your efforts here. Heat Press on Vinyl is really an wonderful experience.
Thank you for pointing out that you need to make sure and mirror the text. My sister is wanting to make shirts and need transfer vinyl. Hopefully, she can find the best stuff possible.
You are welcome!! That is the most important step :).