
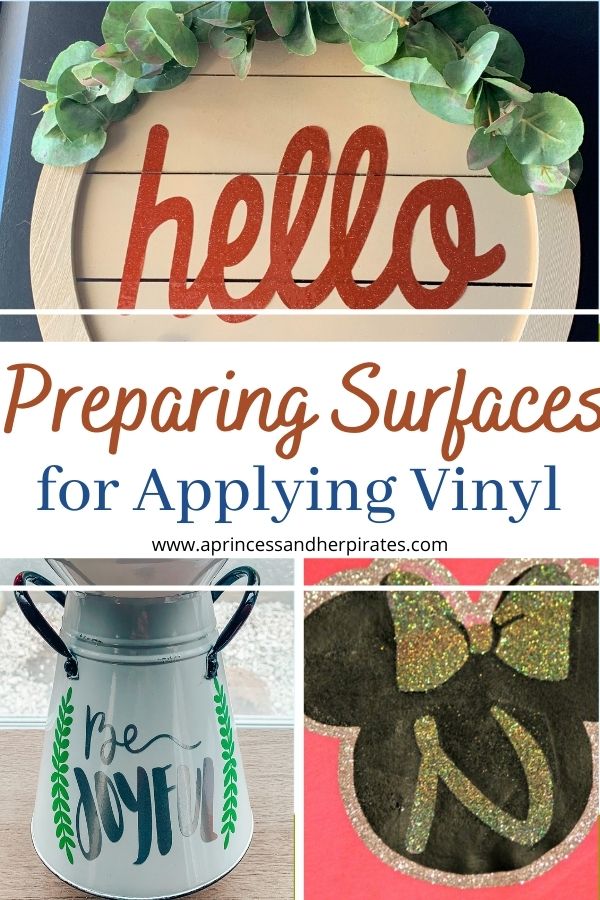
Preparing Surfaces for Applying Vinyl
Preparing your surface before applying vinyl is a key element to having a beautiful DIY project. With just a few simple steps and minimal time, you can prep your blank surface for something amazing!
This post may contain affiliate links. See my full disclosure and privacy policy HERE.
T-shirts, pencil boxes, ornaments, shadow boxes, mixers, water bottles, canvas bags….even my Silhouette Cameo. You name it, I have put vinyl on it or personalized it in some way. I can’t walk through the store without wondering what cute design I can put on something.
Having this mindset has come in handy when I want to create a home decor project t-shirt for a Disney trip, or let’s be real….a last minute gift! Before I can even apply the vinyl, it is important to prepare the surface so you will end with a successful outcome! Preparing your surface for adhering the vinyl is key to the vinyl lasting for a long time on your surface.
You have spent time creating the design, cutting, and weeding the vinyl, that you want it to look its best! Today I am going to share some tips for preparing surfaces for applying vinyl.
applying vinyl to plastic or glass
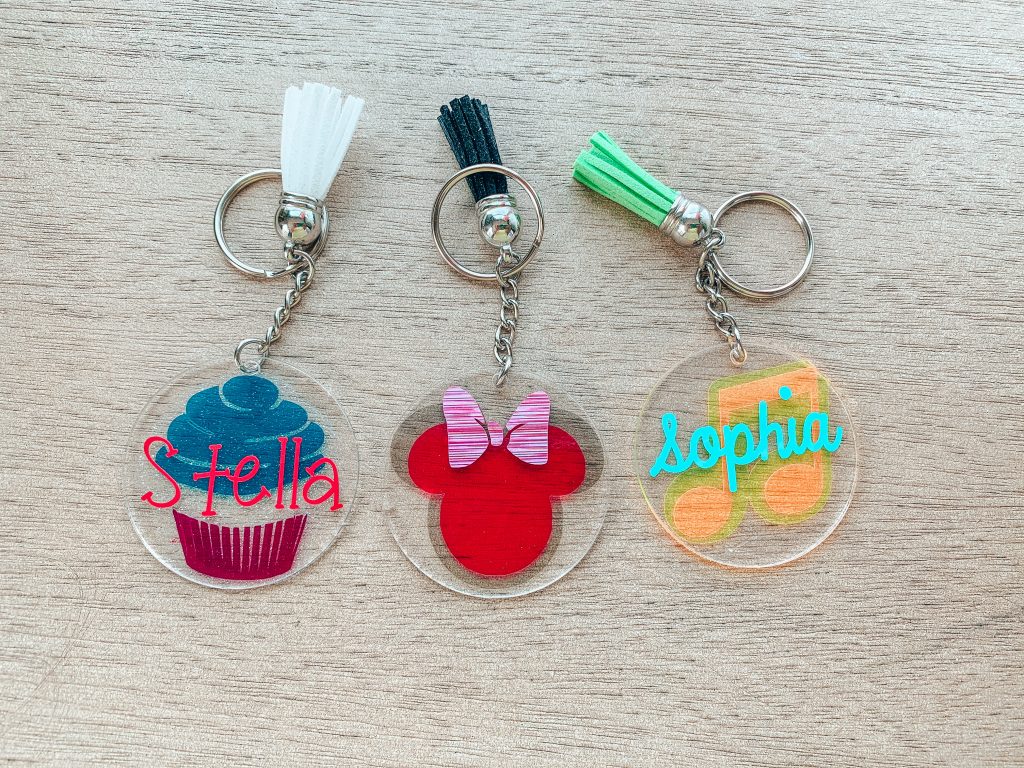
First, you need to be familiar with what surfaces are great for vinyl. Preparing these surfaces and applying vinyl to glass or plastic is probably the most common, and the easiest. It is good to start with a flat surface, such as a pencil box or a clip board. These surfaces tend to be larger and easier to work with. They give you a lot of space to apply several designs if you want! If you want a super easy blank surface, acrylic keychains are great as well!
Water bottles, cups, and wine glasses tend to be a little trickier, but definitely doable! To successfully adhere the vinyl to a glass or plastic surface, you need to clean it first. Using alcohol on a cotton ball is the best way to prepare these type of surfaces. Just give it a few swipes and set it aside to dry. This cleans off any extra dust or surface particles. Then you have a nice, clean surface to start with. This same method is important on glass as well.
Applying Vinyl to Wood Surfaces
We all drool over those adorable wood signs on Etsy or at Hobby Lobby. You know the ones…and often they are not inexpensive! Did you know that you can also apply vinyl to wood? I will say, this has been my least favorite “blank” to work with because the surface has to be just right. The wood really needs to be sanded until it is super smooth. Then, give it a nice coat of paint, even if it’s a natural color or a clear coat. If you try to vinyl on a rough board, the vinyl just does not adhere well. You can easily give the wood a “distressed” look by adding a few coats of paint and sanding over it.

Some crafters prefer to add a coat of polycrylic over the paint before applying the vinyl. I think this is personal preference, and may depend on the project.
Applying Vinyl to Fabric
The key to applying vinyl to fabric is having the correct type of vinyl. This is completely different than the adhesive vinyl you apply to glass, plastic, and wood. For fabric, you need “heat transfer vinyl”. Or, sometimes it is referred to as “iron on”. And it is totally different than any other type. Sticking a design cut from adhesive vinyl to a t-shirt is not going to work!
To apply heat transfer vinyl, you need a heating tool. For a long time, I just used a household iron. At this point, I have been using the Cricut heat press, and it works well! Regardless, you need to prepare the fabric. Whether you wash the garment or not before applying the vinyl is a personal preference. However, do NOT use fabric softener at all. Do not use it if you prewash, and do not use it on subsequent washes after you have applied your design.
Then, heat your iron or press to the correct temperature for your material. Gently press the blank surface a few times to warm it. This also helps get rid of any last minute wrinkles or folds. While the fabric is still warm, lay down the heat transfer vinyl and cover it with parchment paper. Then, start pressing!
Finally, it is important to note you are not ironing…you are pressing. There is a huge difference! For more details on cutting your heat transfer design and preparing it to iron on your material, you will want to read my Minnie Mouse T-Shirt post.
Following these simple steps to preparing your surfaces for vinyl will make a huge difference in your finished projects!
Favorite EASY Vinyl Projects
Using wood, fabric, glass, or plastic, you can design something special with vinyl. Prepare the surface of your choice, and you will have a beautiful result in no time!


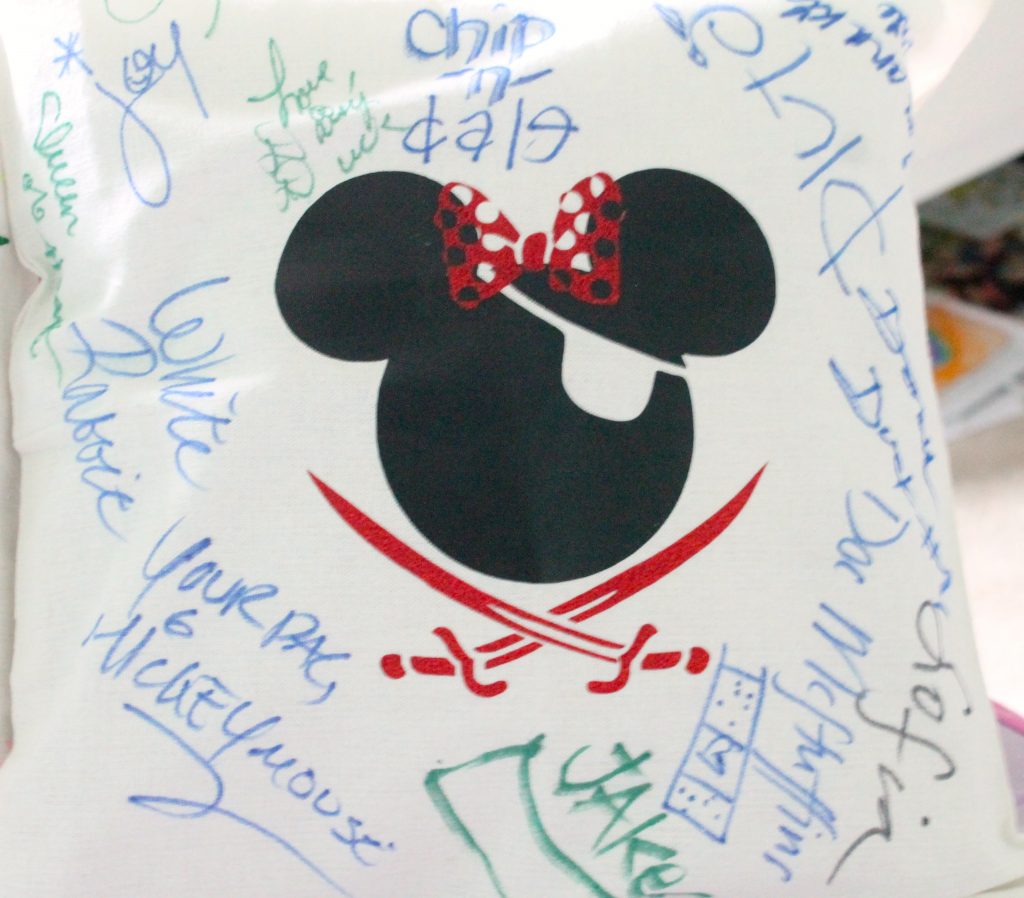
DIY Disney Autograph Pillows
A trip to Walt Disney World isn't complete without seeing your favorite characters. You can bring the Disney memories home with these unique Disney Autograph Pillows.

DIY Back to School Supplies


Favorite Vinyl Supplies
- Silhouette Cameo
- Cricut Easy Press 2
- Vinyl Weeding Tools
- Adhesive Cutting Mat
- Adhesive Vinyl
- Wood Craft Blanks
- Chalkboard Sign
Preparing surfaces for applying vinyl doesn’t have to be difficult or time consuming. Taking these extra few steps will allow you to have a beautiful outcome in no time!

Hi there, thanks for the tips. What alcohol do you use? Would an alcohol wipe work?
Thanks!!
I just used rubbing alcohol on a cotton ball. The wipes may work, but I haven’t tried them.